I'm back, to let you know, I'm ready to dive into techniques! After a well rested spring vacation, Easter holiday, and a planning day, the kids were eager to dive back into our illustration study. If you are interested in reading the previous post, you can catch up with our first few samples here!
This past few weeks we took picture walks through a few remarkable books in which showed examples of two sides of a physical space. Katie Wood Rays, author of In Pictures and In Words describes this technique as showing inside and outside or above and below.
Here are a few book recommendations...
Click Image to Purchase
Click Image to Purchase
Click Image to Purchase
While exploring the books, I guided the kids to understand why the illustrator shows both sides of physical space. It's always entertaining listening to the kids answers! As for our class illustrations, we used Sophie's Window. The kids identified which lines were added to the illustration to give the perspective of being indoors or outdoor.
Technique 4: Showing Two Sides of a Physical Space
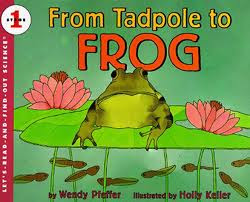
For understanding Passage of Time, the observed pictures of how illustrators sequenced events over time. A few books used during this technique were...
Click Image to Purchase
Click Image to Purchase
Click Image to Purchase
During this technique, I had the kids observe a sequence of illustrations, usually arranged from left to right or top to bottom. The order of events fit perfectly with our seed life cycle study!
Technique 6: Passage of Time
I'm over-the-moon with my students growth and eager to share their portfolio pages in which be began in August. As a mid year peek, I had the kids take a glance at the beginning of the year illustrations. We've grown leaps and bounds!


Just a quick hello from your newest follower (I found your blog through Katie at Queen of the First Grade Jungle). I'm loving some of these illustrations your students have done. Keep the pictures coming!
ReplyDelete